
5 Equipment Setup in the GUI
5.1 Adding the Welder as Equipment
After the Modbus TCP connection is active, you need to configure the welding system within the Standard Bots software.
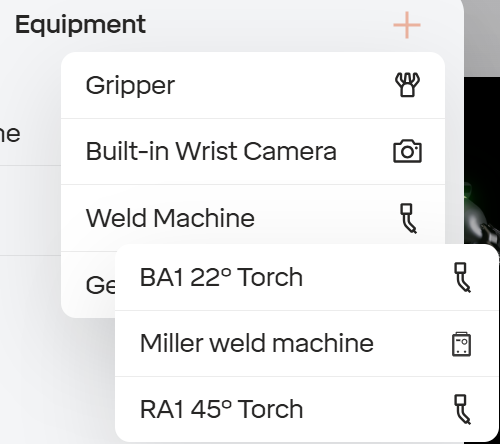
- Navigate to the Equipment page on the RO2
interface.
- Click the + button.
- Select the Weld Machine tab.
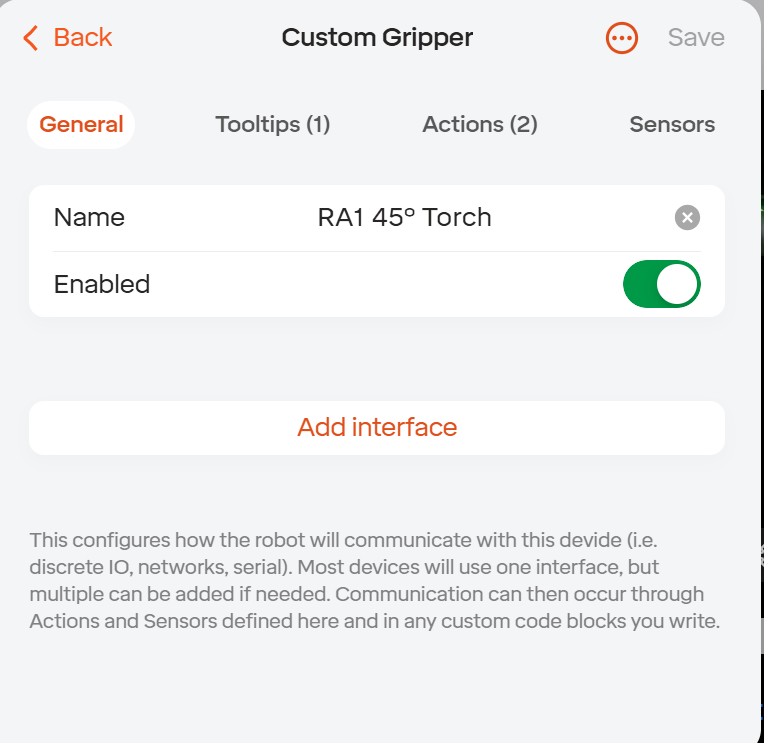
- First select the Torch based on the Degree torch that was purchased.
45 degrees is the standard torch.
- Save the Configuration.
- Navigate back to the add page and select the Weld Machine tab again
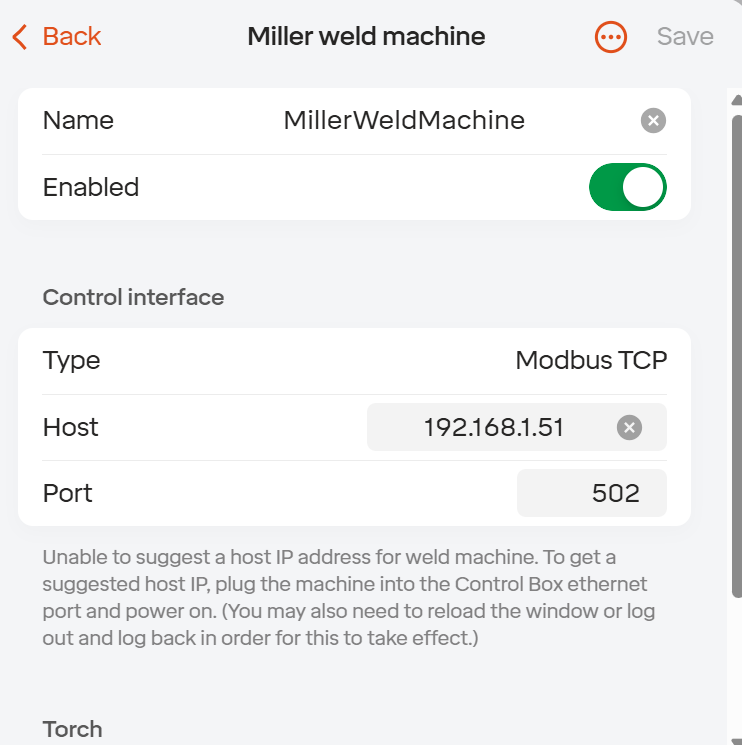
and this time select miller weld machine.
- Type in the IP address of the Miller welder (default is
192.168.1.51).
- Save the configuration.
5.2 Configuring the Weld Process
The Auto DeltaWeld 350 supports multiple welding processes. Select the process that best matches your application:
- MIG (GMAW) — Standard short-circuit and spray
transfer MIG. Good general-purpose option. Lower spatter than
traditional MIG power sources.
- Accu-Pulse (GMAW-P) — Pulsed MIG. The most versatile process for industrial applications. Works in all positions on materials 16 gauge (1.6 mm) and thicker. This is a strong default choice for most applications.
Select your desired process in the RO2 equipment configuration panel. The system ships with a default weld setting that is functional for basic MIG welding, but you will need to adjust parameters for your specific material, wire, gas, and joint configuration.
5.3 Setting Weld Parameters
Weld Parameters will be set per weld in the process tab of the weld step.
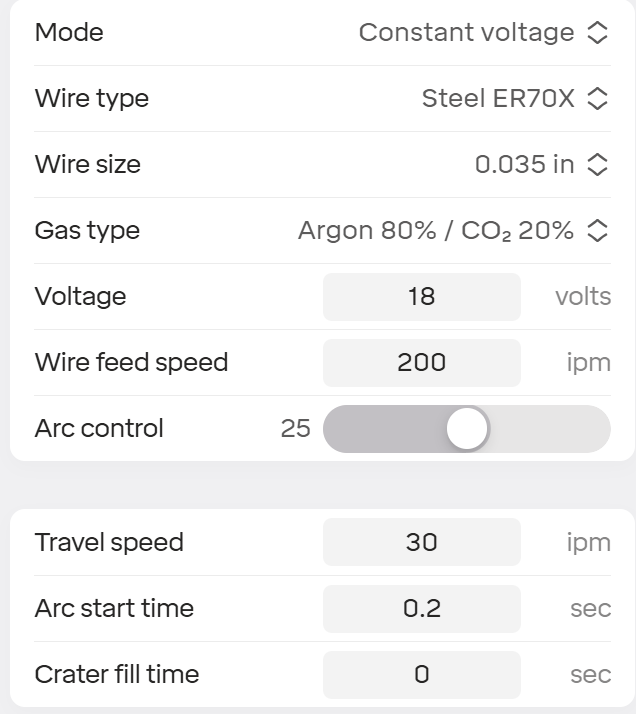
- Wire Feed Speed (WFS) — Controls the amperage.
Higher WFS = higher amps = more heat and penetration. Starting points
vary by material thickness and process.
- Voltage — Controls arc length. Higher voltage =
longer arc = wider, flatter bead. Lower voltage = shorter arc =
narrower, more convex bead.
- Arc Input (Pulse) — Fine-tunes the voltage relative
to the synergic setting. A trim of 0 is nominal. Values above 0 increase
voltage; below 0 decrease it. Not all processes use this
parameter.
- Arc Control — Adjusts the arc characteristics
(softer or stiffer arc) depending on the selected process. 25 is the
nominal number. Not all processes use this parameter.
- Travel Speed — How fast the weld moves in IPM
- Arc Start Time/Crater Fill Time — Amount of movement delay at the start and end of the arc respectively.
These parameters are sent to the DeltaWeld via Modbus — you don’t need to touch the power source directly.
5.4 Payload & Safety Configuration
The combined weight of the torch assembly, gun mount, insulating disc, and any arm-mounted components must be set as the robot’s payload in the RO2 safety settings.
On the move tab you will be prompted to add a payload to the tool 3KG is recommended.
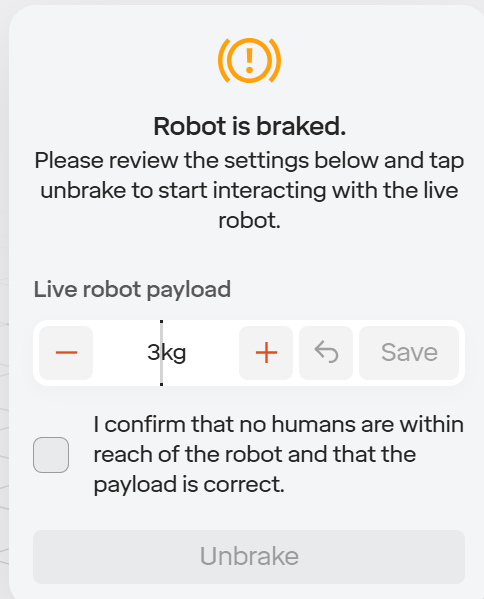
Incorrect payload settings affect the robot’s collision detection sensitivity, braking distance, and overall safety performance. Always verify this setting before running a welding routine.